Skip to:
- Shapes & Placement - Ranges - Fliers - Natural Colors - Color Modifiers -
Marking Genetics
Markings can be either Heterozygous or Homozygous
You can see which version of a marking your dinosaur has by checking its genotype.
- Heterozygous markings will always be displayed in the Xx form; or occasionally X for some markings.
- Homozygous markings will always be displayed in the XXXX form; or occasionally XX for some markings.
Homozygous markings have double the chance of passing to offspring compared to the Heterozygous version. Homozygous markings also often allow for differences in gene expression such as increased coverage or additional colors. This is dependent on the marking however, so you should refer to individual marking pages to see what you can with the Hom version of the marking!
Dinosaurs can have a maximum of 12 markings of any combination. Minimal markings, which are small accent markings that are purchased from shops or crafted, do not count towards this limit. The rules in this guide will also apply to minimal markings!
Marking Shapes & Placement
Shape
All markings, including dimorphic markings, should always appear naturalistic. They should never look like tattoos or existing objects or shapes such as logos, star shapes, etc. Designs that look somewhat unnatural as a whole are okay, if each individual marking looks natural by itself.
All markings can be asymmetrical, including minimal markings and dimorphic markings! Both sides must touch the minimum areas, if any, and follow all rules. Any rules related to coverage amount will also apply to both sides, such as Het Clouded having a limit of 50% per side; unless the marking specifies otherwise. Make sure to include a link in the design submission comments to a private upload of the other side reference; this link should be viewable without staff needing an account, Sta.sh or Google Drive are acceptable examples.
In general, markings are allowed to mimic the appearance of other markings unless the marking rules state that it can't mimic another marking. This is usually in reference to other similar markings.Layering
Unless an individual marking's rules specifies it must be layered on top of others, markings can be layered as you wish, as long as the layer order is consistent. For example, one marking shouldn't be both below and above another marking in different areas; only one or the other. Remember that markings must always be clearly visible on your dinosaur unless they are being hidden by another marking!
Some markings may have two parts to them, such as a two layers or a halo around the marking. These two-part markings are considered as one layer when it comes to interacting with other markings. For example, another marking cannot sit between the two layers of Merle or Painted, only above or below both layers.
Gradients and Fading Edges
Some markings may specifiy that they can fade into the base; for some markings this is optional, for others it's required! If the marking allows fades, you can softly erase it around the edge of the marking to create this fade. The edge of the marking should not be visible where the fade ends, otherwise it may be rejected for looking like a two-tone Hom gradient. Similarly, the fade should show some of the markings underneath, if any, rather than an opaque gradient that mimics a fade. Fades cannot occur in the middle of a marking, only the edges.
Markings that have gradient edges are separate to fading edges. However, you can use the fading part of a gradient marking layered over another marking to mimic the appearance of a fade or two-toned Hom gradient, as long as the gradient marking remains opaque at its 'source'. Do keep in mind that if a marking is touching the dinosaur's base color, the marking can't be the same color as the base!
Marking Ranges
Each marking has its own allowed range that its allowed to cover. At the bottom of each marking's page, you can find species-specific images to overlay onto your import to check if that marking is in range. Marking ranges are composed of four main colors:
- Dark red - The minimum area for all forms of the marking.
-- Markings do not need to completely fill the minimum area. - Orange - The Het range.
-- Both Het and Hom forms of a marking can use this area. - Yellow - The Hom range.
-- Only the Hom form of a marking can extend into these areas. - White - Out of range for all forms of the marking.
Interactions with Feathered Dinosaurs
All of our marking ranges on the site are made for the standard bald import lines, but you can apply them to the feathered imports as well! When considering ranges for feathered imports, just extend the ranges from the bald imports outwards to where they would meet the feathered lines to see where the range limit would be. Here's an example using the Unders marking range on a standard feathered Utahraptor import. The examples in this section are references to demonstrate how to extend ranges and should not be used as official range templates!
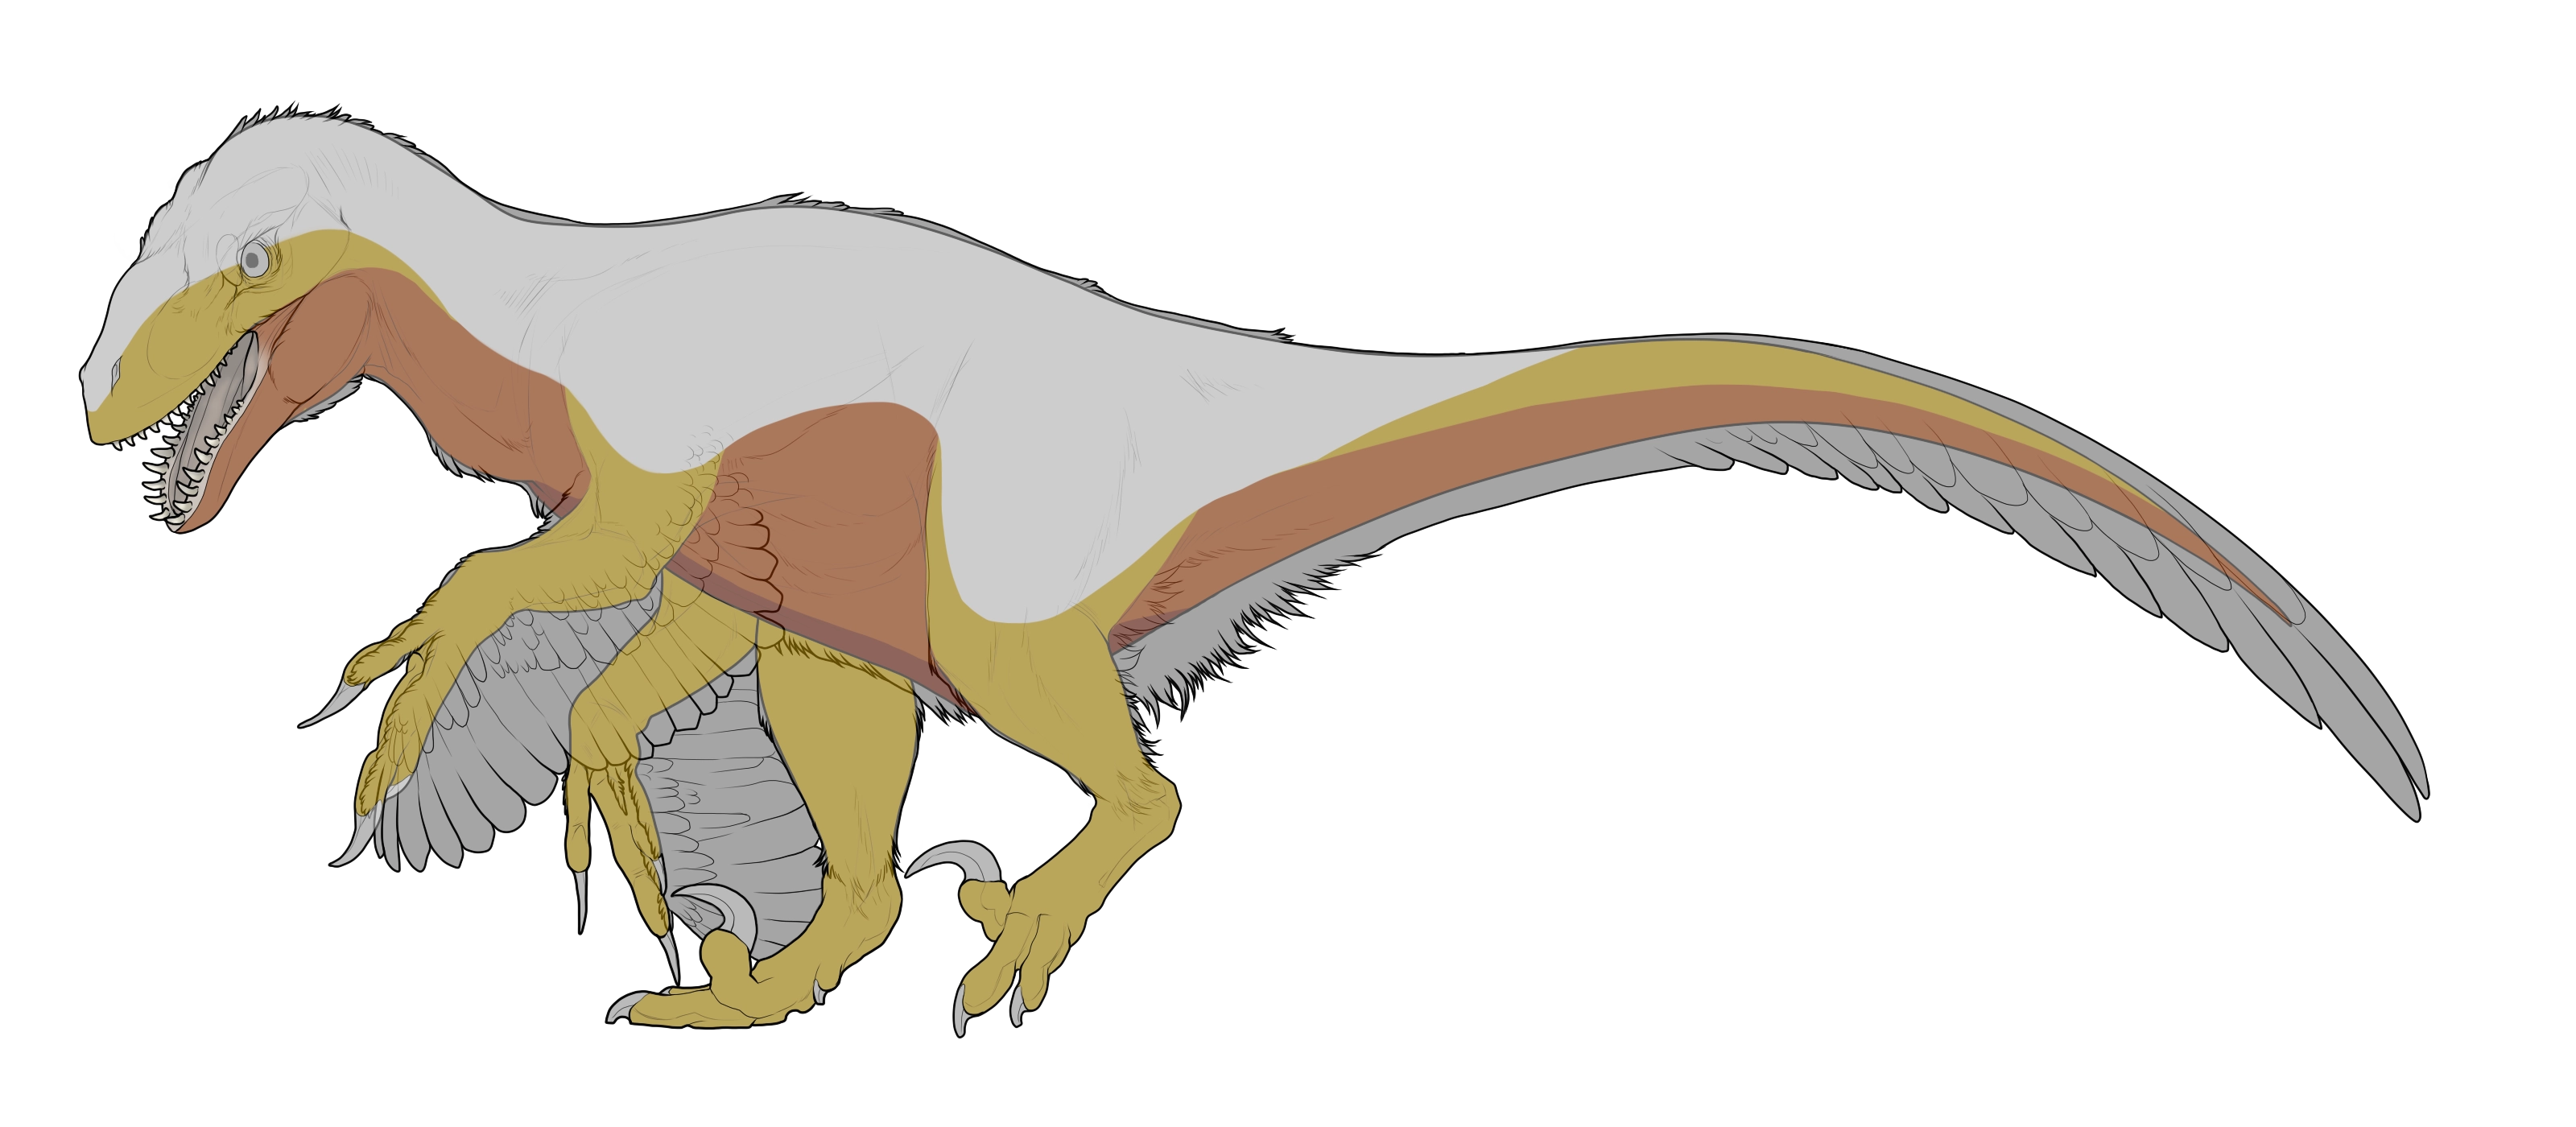
Here's how the bald range looks like when applied to a feathered import. Notice how there's orange 'Het' range on the arms. Since Het Unders does not cover the arms on bald dinosaurs, this little orange patch isn't available for Het Unders on feathered dinosaurs.
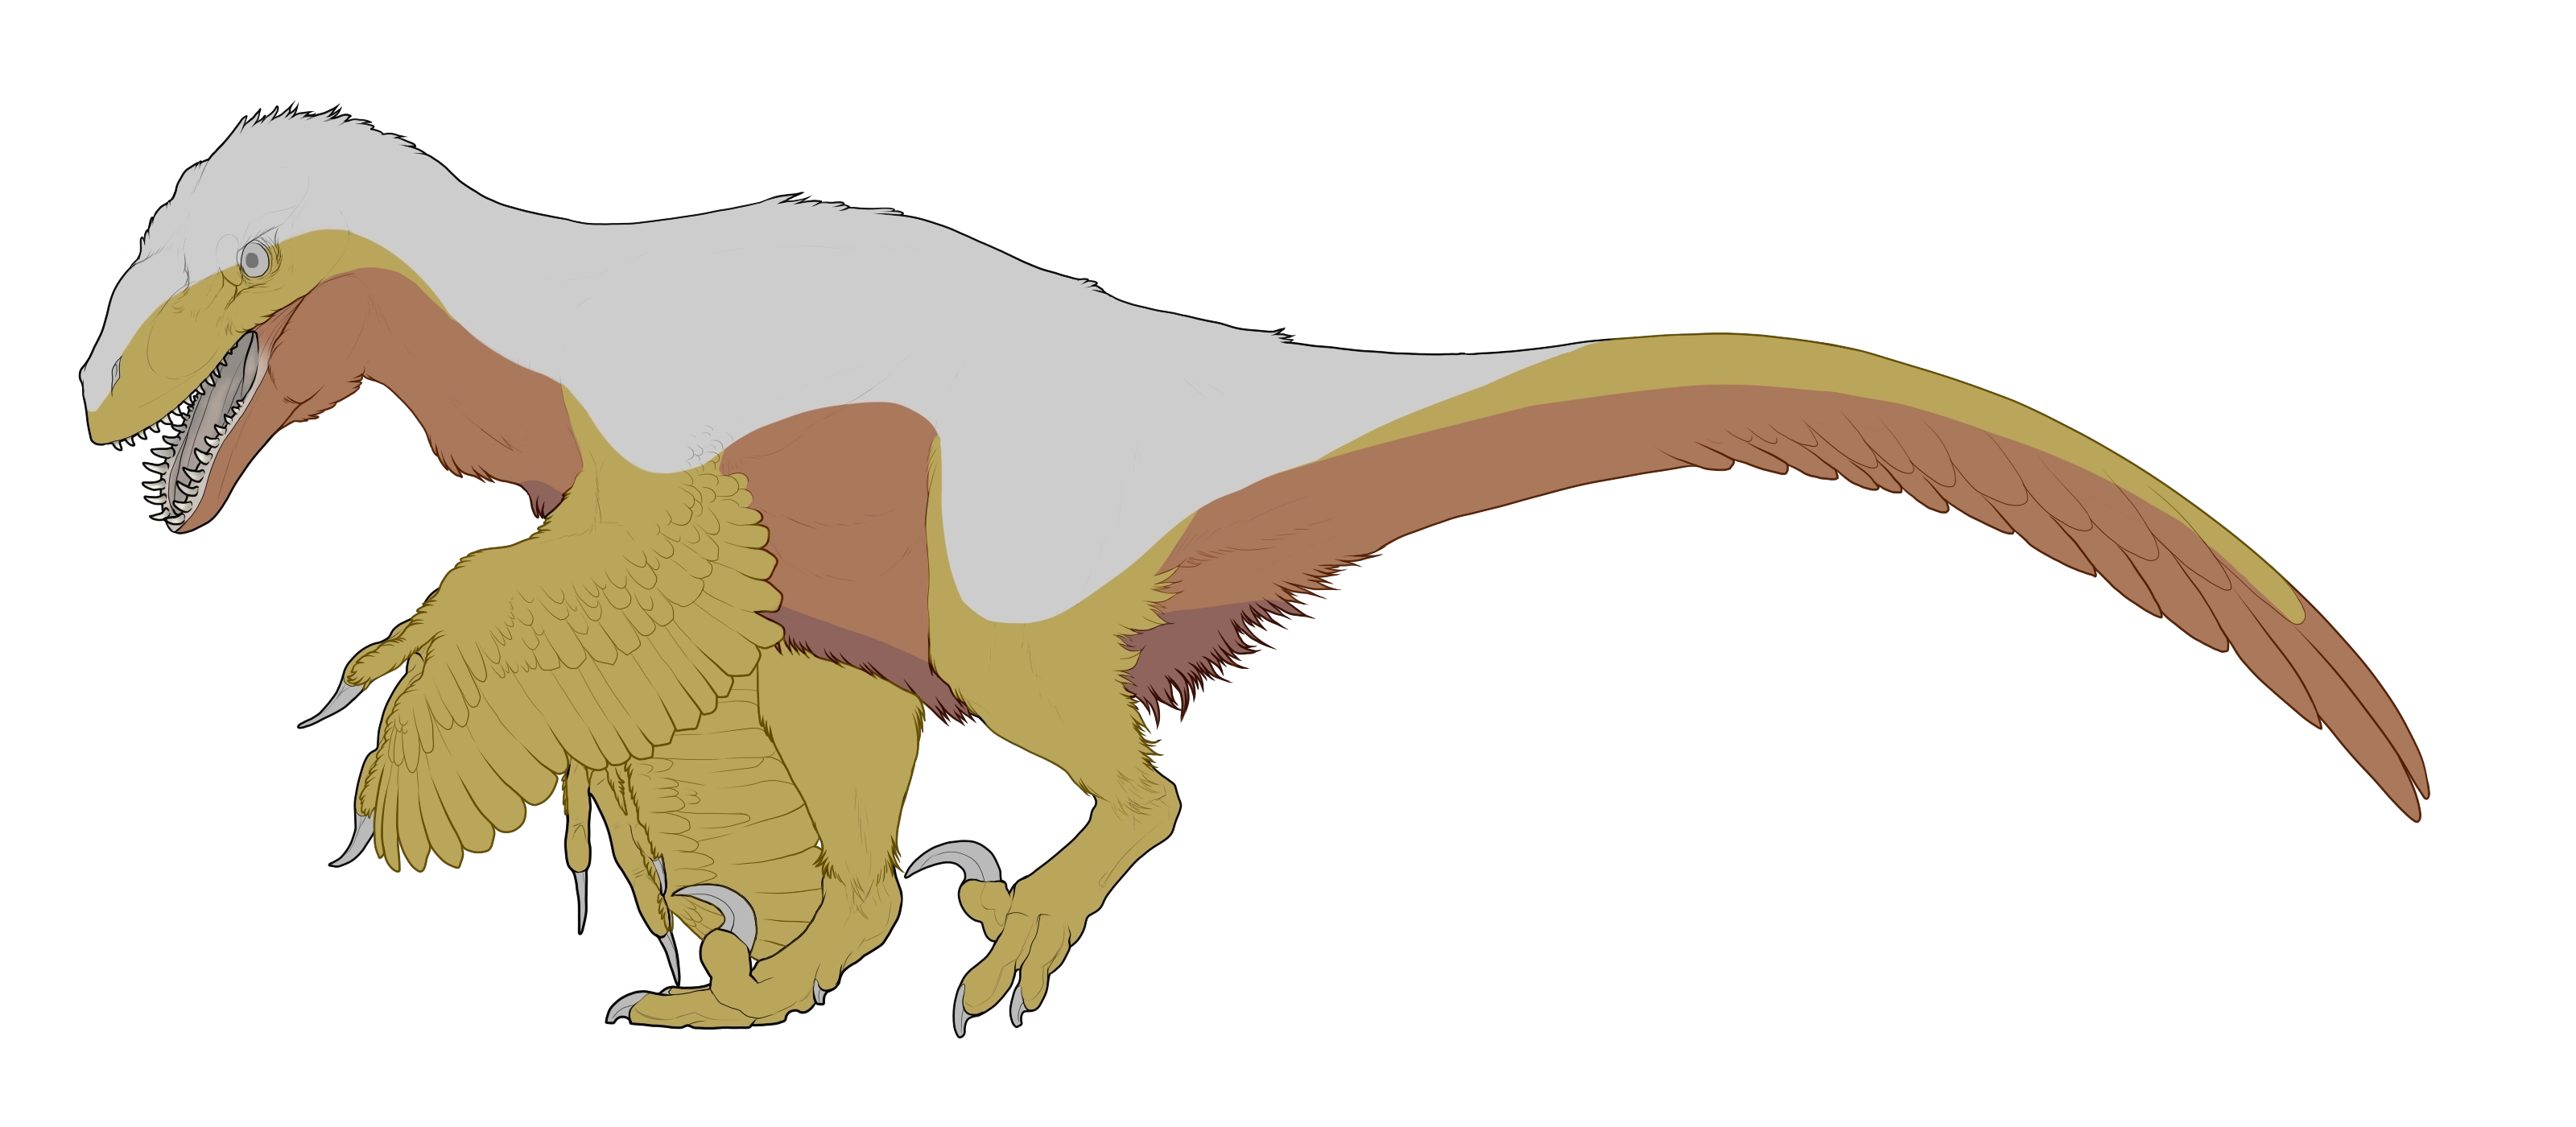
Here's how we can extend the range out correctly. The extra space on the tail and underside has been extended outwards to meet the new feathered lineart. The Hom range on the arm feathers and leg fluff has been expanded to show the limbs are only in range for Hom Unders.
Interactions with Feathered Carnotaurus and Missing Limbs
There is one species that has unique interactions with marking ranges when feathered; and that's Carnotaurus! The standard feathered Carnotaurus does not have visible arms, unlike any other species and even other Carnotaurus variants. For these examples, we will only be showing you the extended ranges but you can compare to the original on each marking's page. Dinosaurs with missing limbs would also follow similar rules!
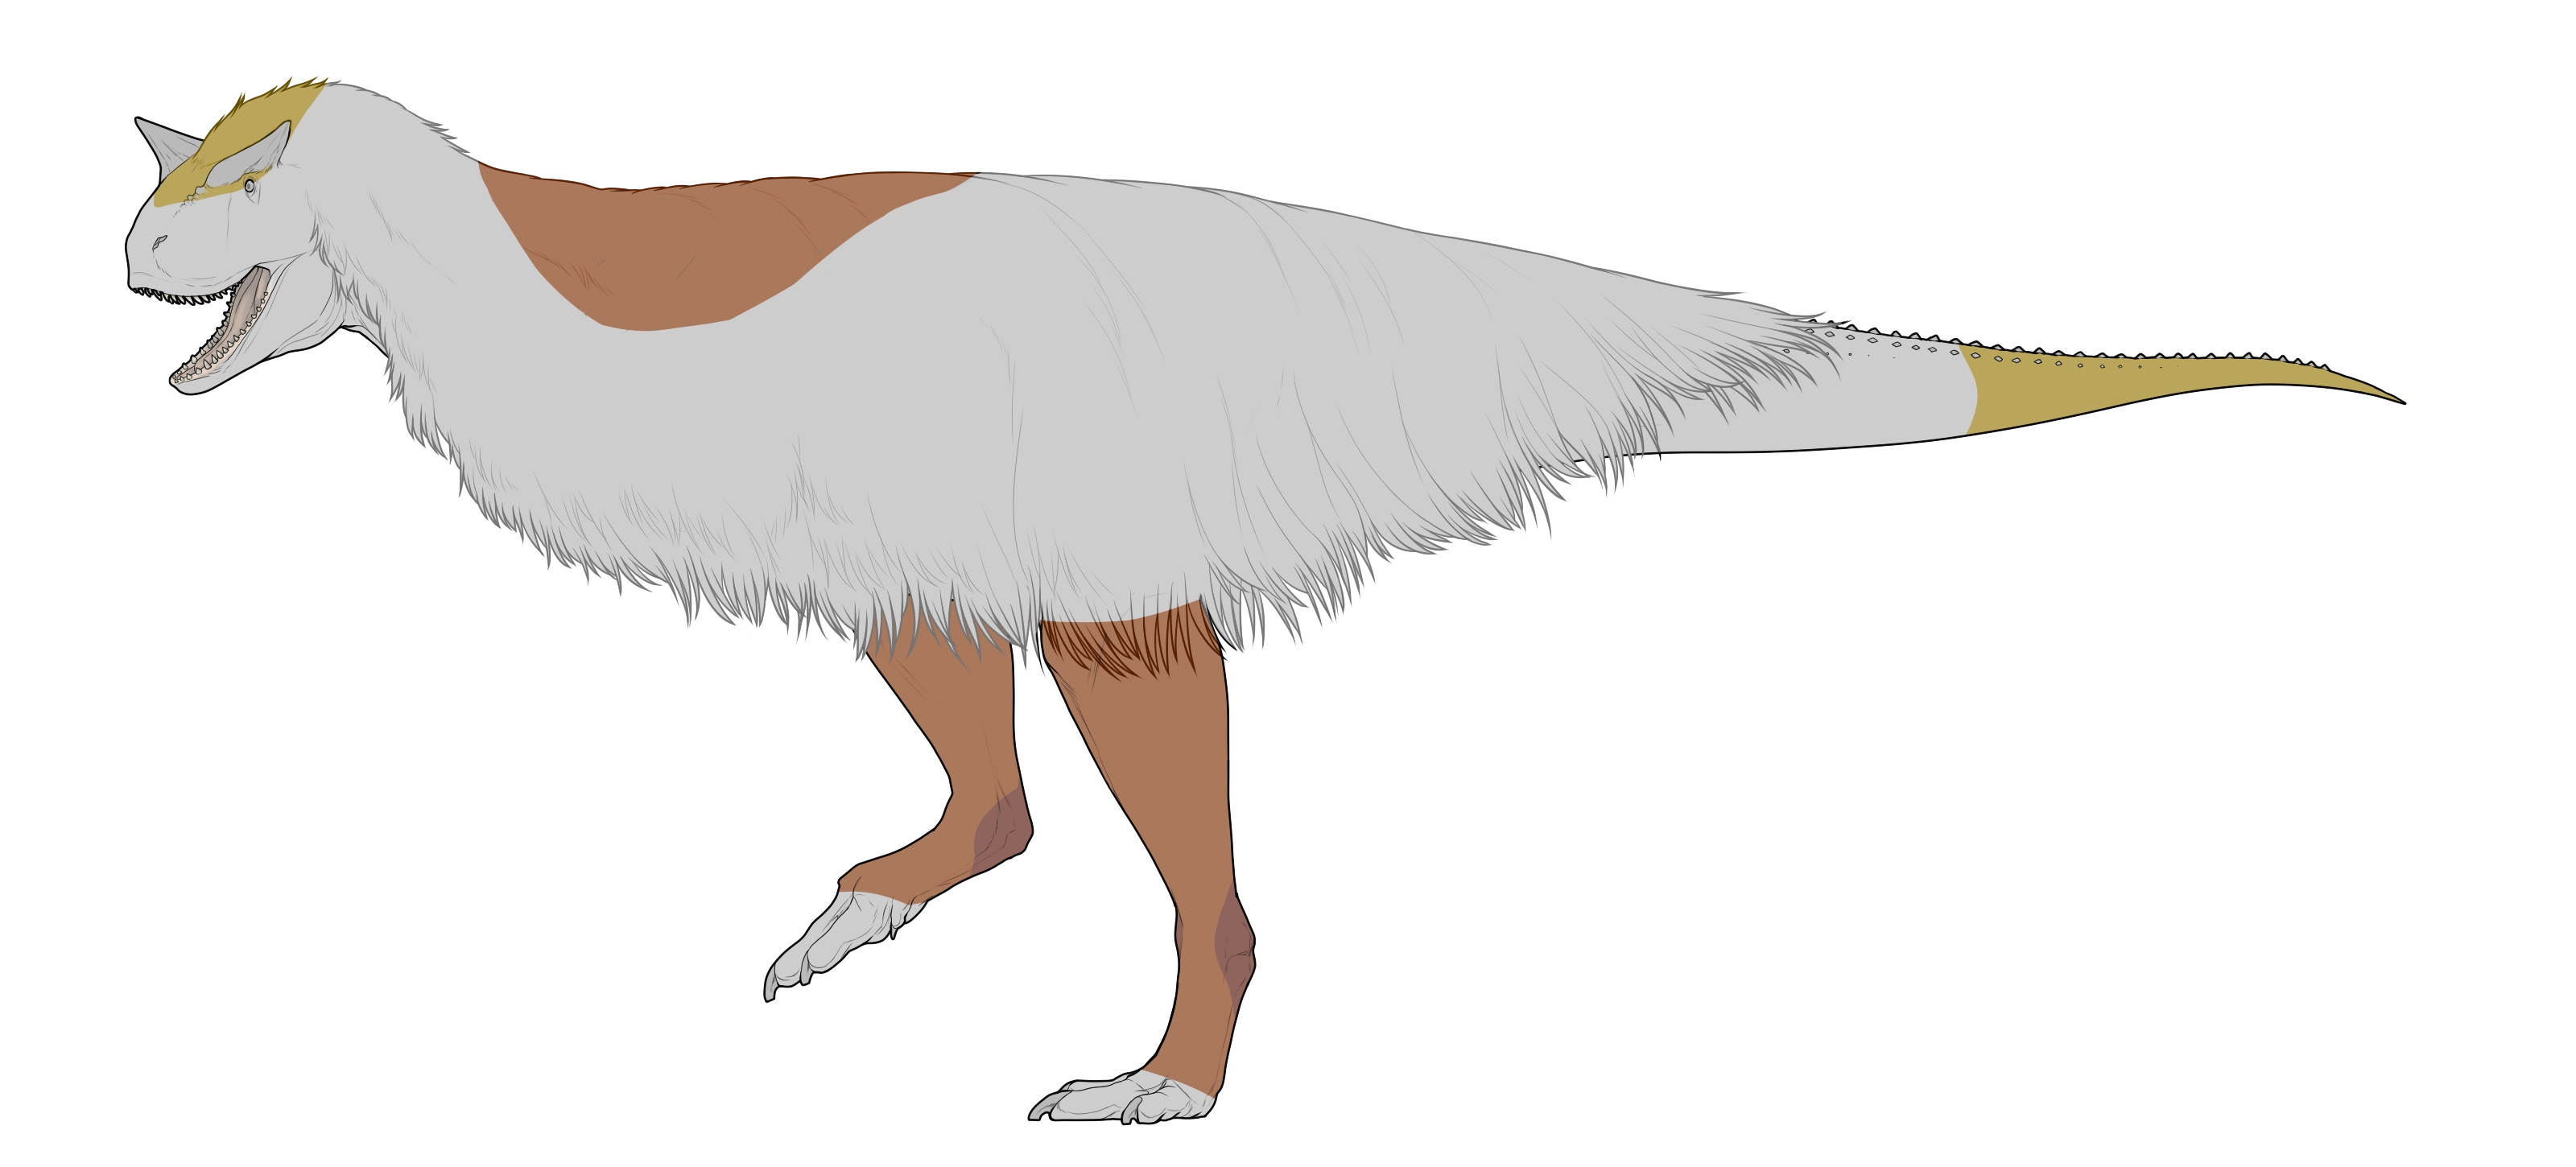
Markings that affect the arms specifically such as Dun, Tears and Rimmed, do not display at all on standard feathered Carnotaurus arms. This example is Dun, where the standard bald arm range has been removed because there is no visible arm to add striping to.
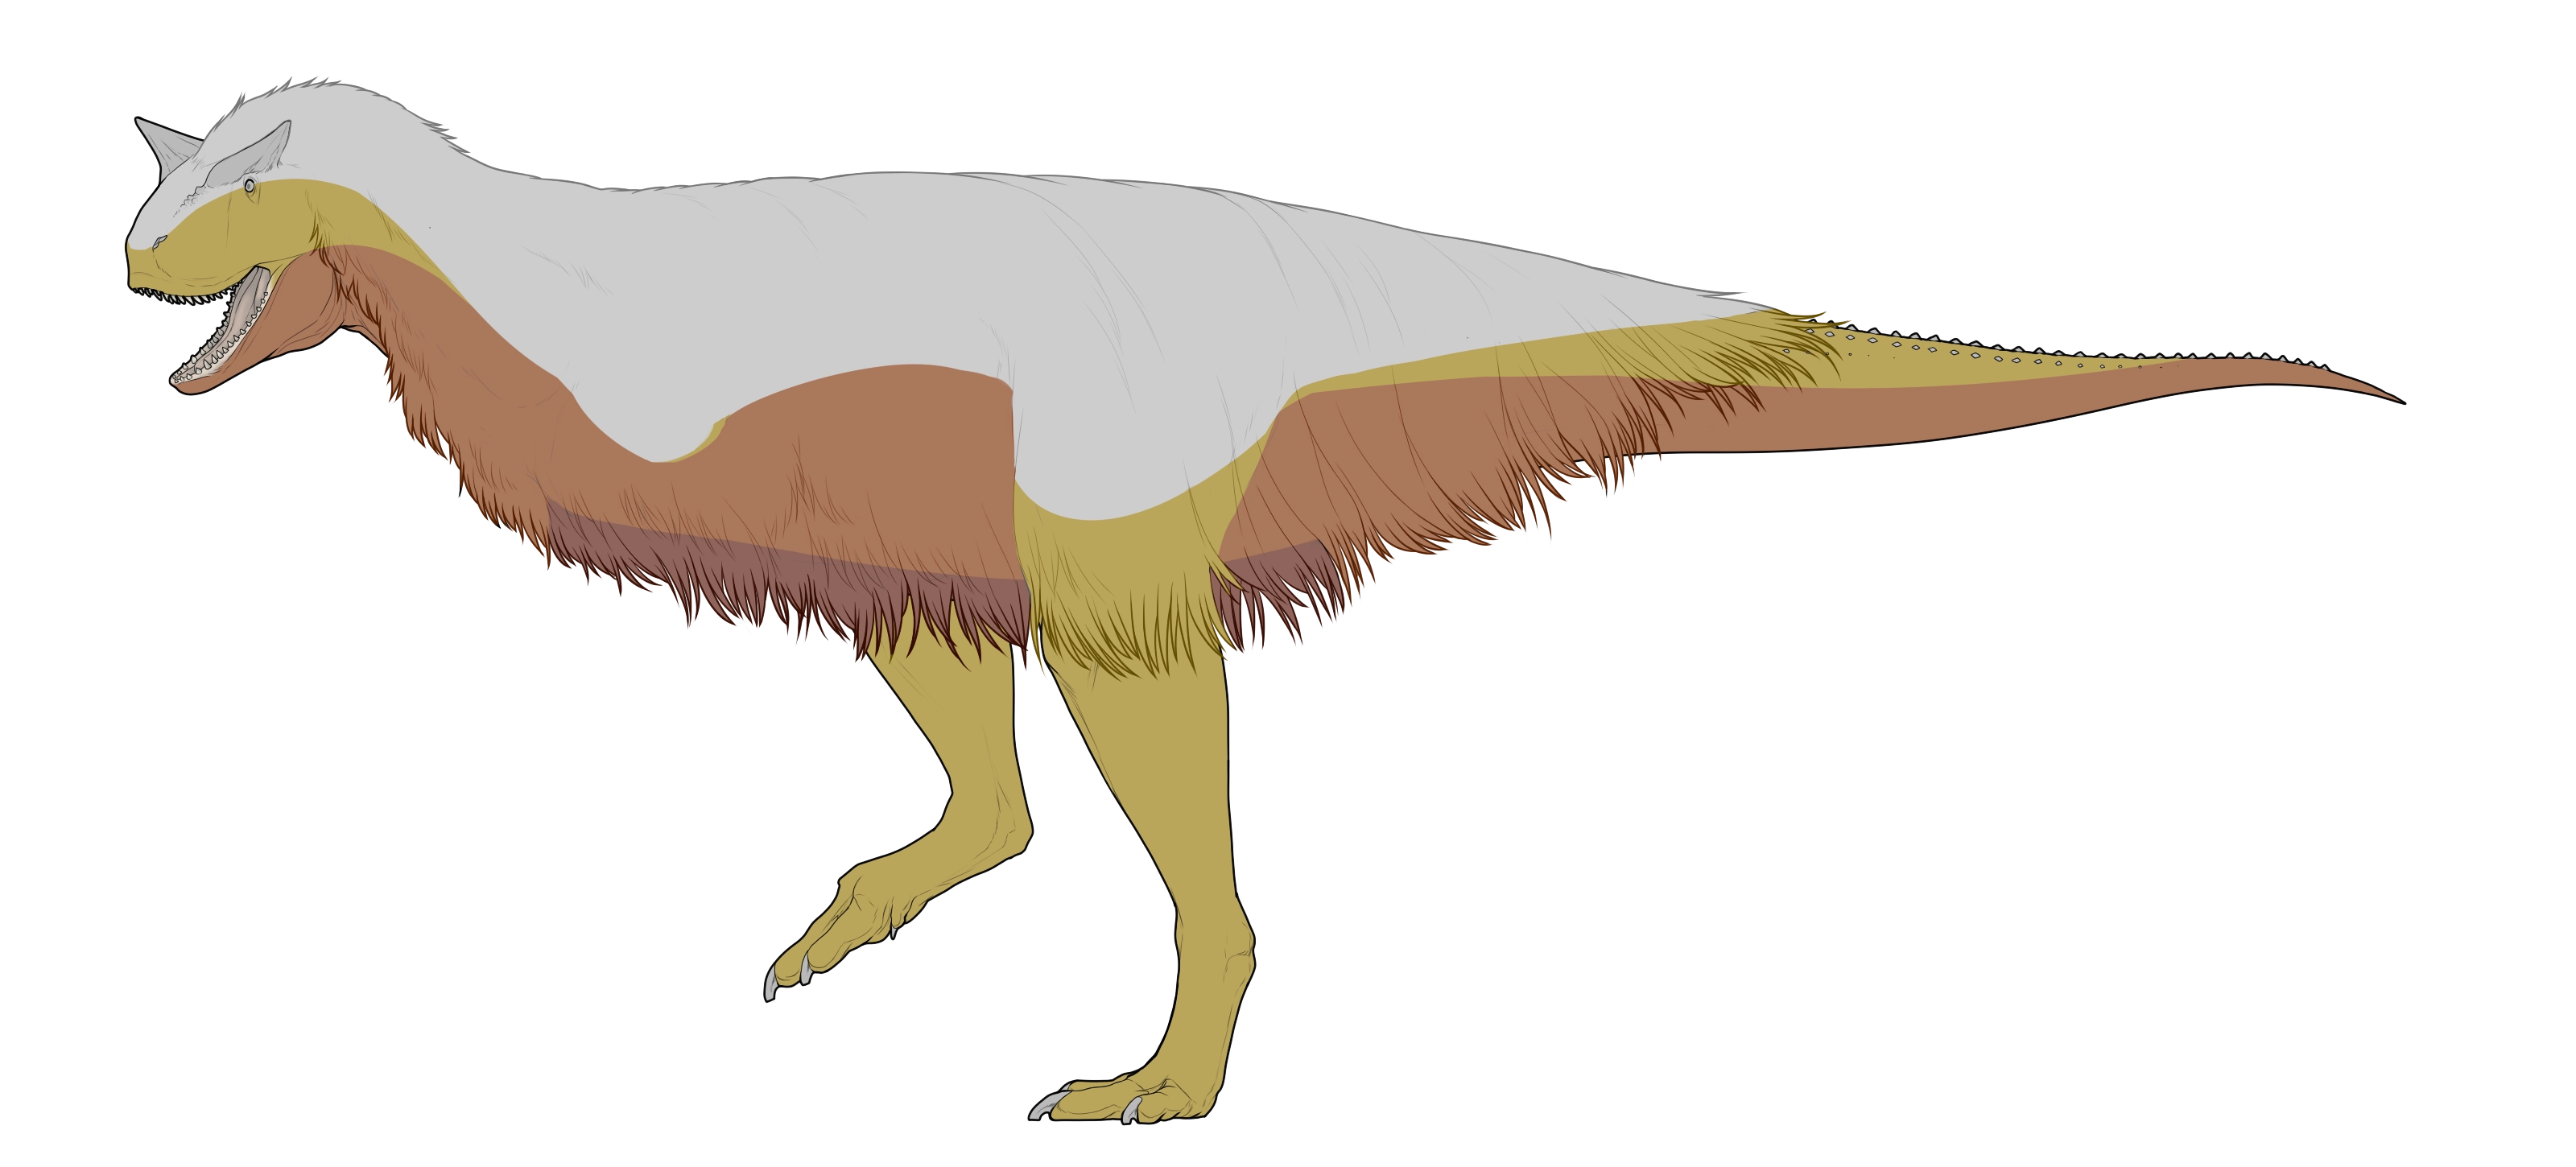
Markings that connect below the arms can have their ranges connect up following the flow of the marking under the 'armpit'. This example is Unders; the Het range can cover the Hom range to connect the flow; but doesn't cover the tiny part of Hom that's above the 'armpit'.
Interactions with Variants
This part is more specific to crested and spiked dinosaurs; since scruffy will follow the feather rules above and quilled will follow keratin rules. Markings must still adhere to their rules when extending into variant features such as crests and spikes. For example, markings that do not normally create large blocks of color, such as Striped or Tapir, cannot fully color in crests and tail fans. If a marking doesn't allow holes, the marking can't avoid filling crests or spikes if doing so would create a hole.
Crested
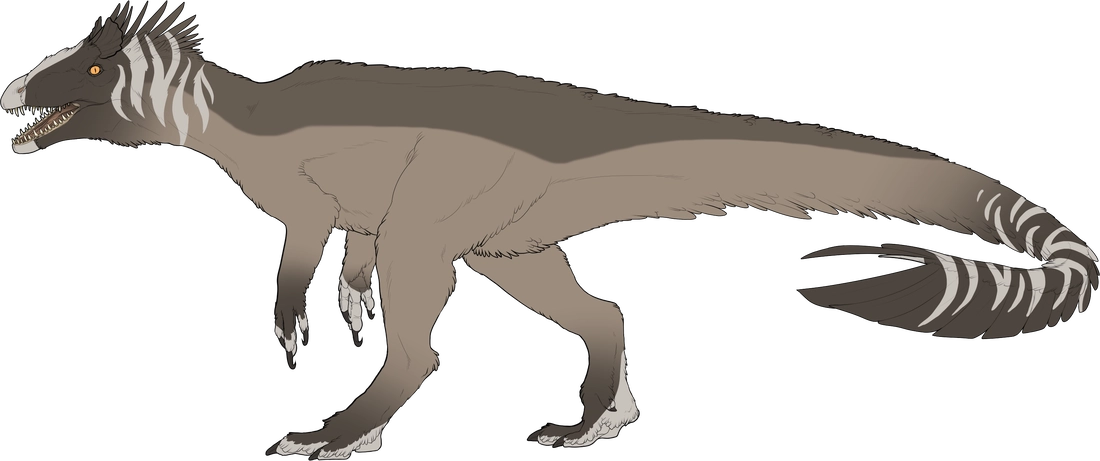
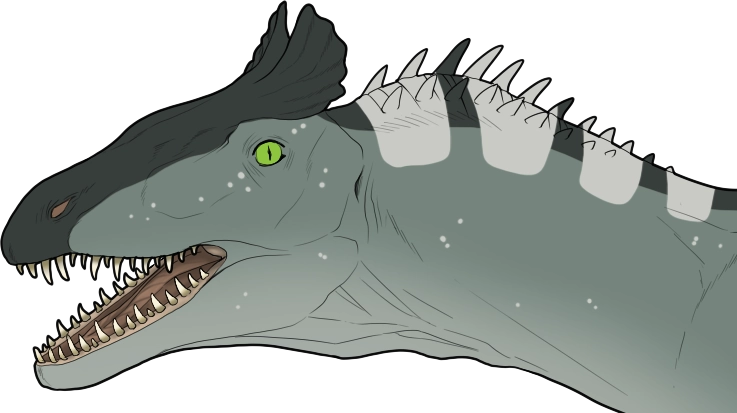
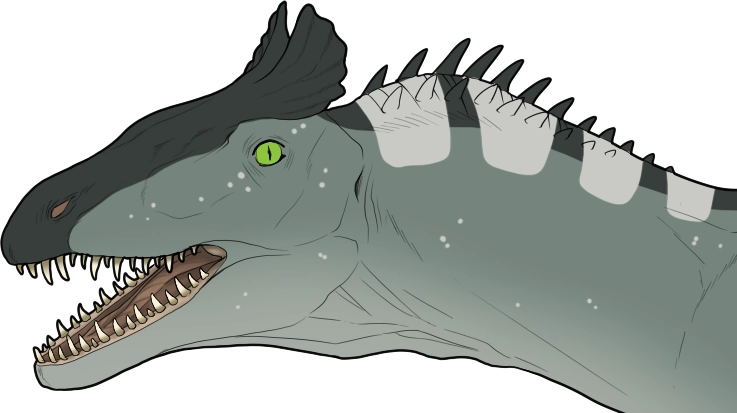
Sable and Striped are extending into the head crest and tail fan correctly here, as they both follow all of their marking rules and each marking still resembles itself.
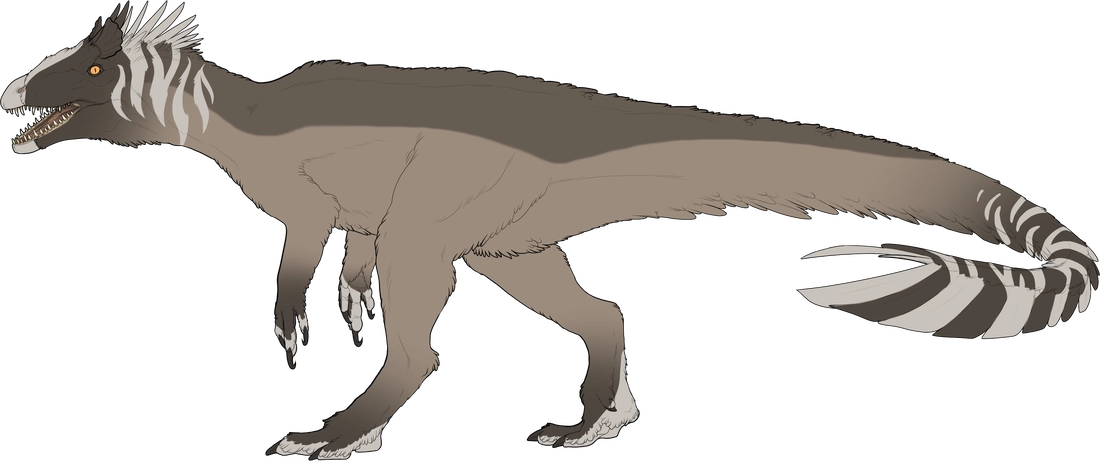
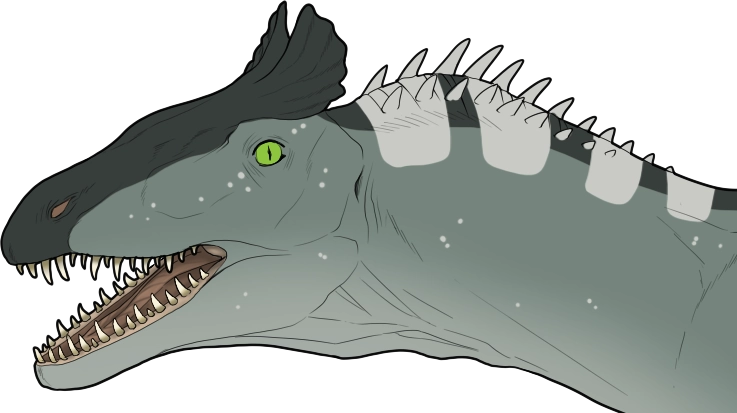
Striped is incorrectly forming a solid block of color on the crest. The tail fan is possible for other designs, but the thickness does not correctly align with the other stripes in this case.
Spiked
Flier Markings
Some markings act a little differently on flier species
Some markings have 'directional' rules that specify a certain flow pattern that they must follow, usually restricting these markings to only horizontal or vertical orientations. Some examples of markings with these rules include Striped, Ripple, Tapir, and Smog; but there are others not listed that have directional rules, they will be mentioned in the individual marking's rules. On flier species, these markings interact with the wings in a slightly different way.
On the main body, markings would act as they normally do on terrestrial and aquatic species. When these markings flow from the body of a flier onto the wings, they should curve to follow the flow of the wing, not continue in the same direction as on the body down the entire length of the wing.
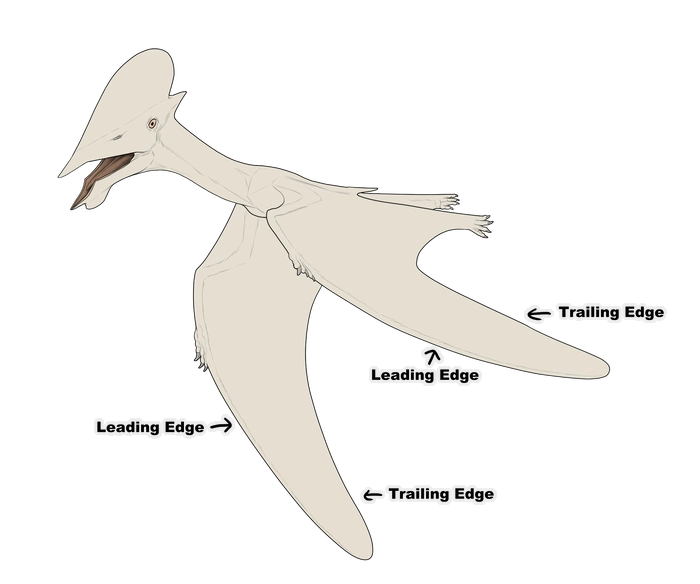
- The leading edge of the wing, where the hand is, is treated as the dorsal side.
- The trailing edge of the wing is treated as the underside, in comparison to a normal dinosaur.
This means that:
- Vertical markings should run from the leading edge to the trailing edge.
- Horizontal markings should run between them lengthwise.
Examples
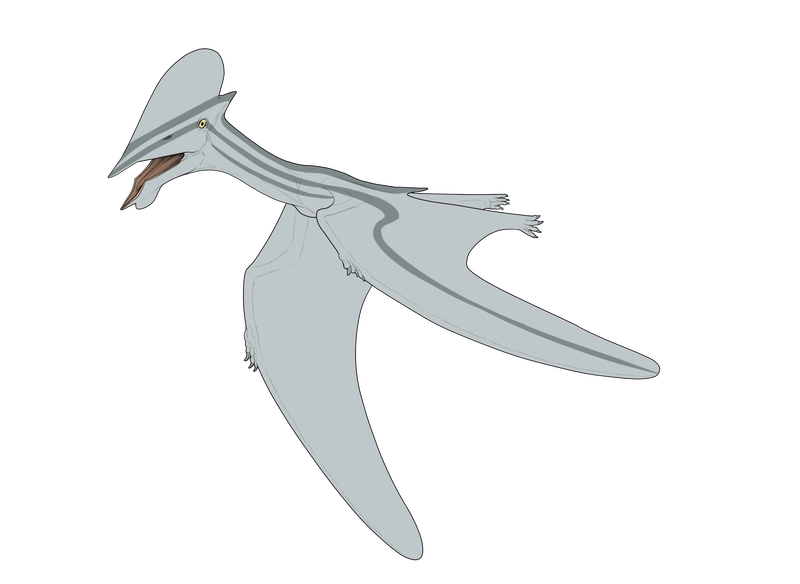
A tapejara with Pinstripe. This marking must always be horizontal, so when on the wings, it curves and runs lengthwise between the leading edge and trailing edge.
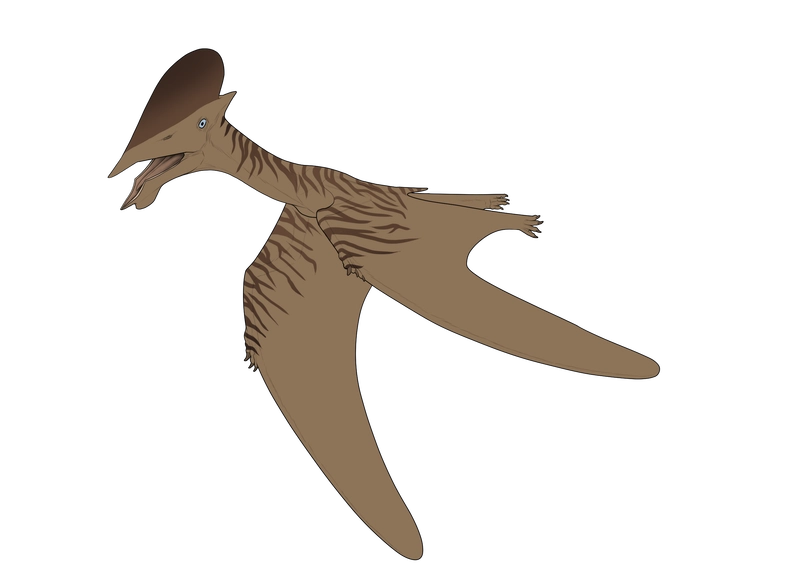
A tapejara with Striped. This marking must always be vertical, so when on the wings, it treats the leading edge as the dorsal side and the trailing edge as the underside.
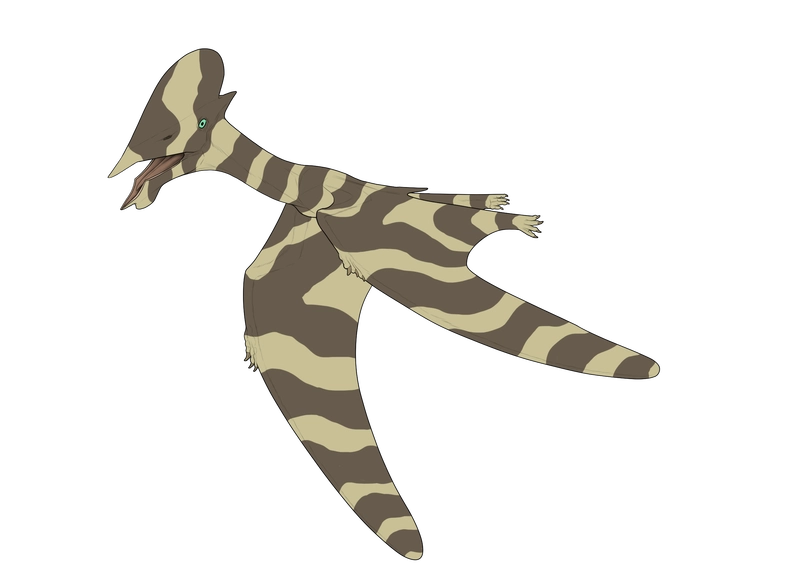
A tapejara with Banded. This marking must encircle the body, so when transitioning onto the wings, it must curve and change direction to follow the wing shape.
Marking Colors
Marking colors do not have to be derived from the base coat color
You are free to use any hue you would like as it is allowed within the rules of the marking! But your marking colors must remain in a natural color range and should not be heavily saturated (see swatch below). The dinosaur should not have any neon colors unless the dinosaur has a bright dimorphic marking or a color modifier.
Markings must be clearly visible somewhere on the body unless they are being completely hidden by another marking or multiple markings. Markings can not be the same color as the base coat if they are directly touching the base coat; but can be the same color as the base coat if layered over another marking. If a marking can not be hidden and the color is too subtle in color to be visible anywhere, you may be asked to modify it to make it more visible.
Markings are allowed to be the same colour as other markings and can even act as fake 'extensions' of another marking, such as making Hood and Sable the same colour to make a larger area of one colour than either would allow by themselves. Some marking combinations may even allow you to cover up the entire dinosaur's base color. If you do this, remember that markings which have rules related to the dinosaur's base color such as Siamese and Fade, are still compared to the genetic base color.
Colors can't be too dark
The darkest color allowed is the darkest part of the Curse swatch, which is rgb(17,17,17). For reference, we've included the exact color that this is in the box here. This applies to all colors on an import, such as skin and keratin; not just markings.
Similarly, the lineart should be clearly visible against all colors on the import. If you choose to color the lineart of your import, it should be darker than everything it sits on top of.Natural color swatch
This is a reference for the maximum saturation we allow for different hues and values. You are not required to pick colors directly from this swatch, but you should avoid using colors that are more saturated than these! You are welcome to use any colors that are less saturated. Please note that its recommended to copy-paste or download this palette at its full size! Screenshotting it sometimes reduces the accuracy of the colors.

Color Modifier Genetics
Color modifiers are genes which affect the colors that you can use on your dinosaur
Color modifiers allow for colors that are more saturated than the natural colors allowed for dinosaur markings! These genes work differently than normal marking genes. Like markings, color modifiers can appear as part genotype in a heterozygous or homozygous form. Make sure you identify which your dinosaur has (if any), as this is very important for how your dinosaur's color modifiers display on the import!
Color modifiers will always be written before the markings in the genotype and will be separated from the markings with a dash (-).
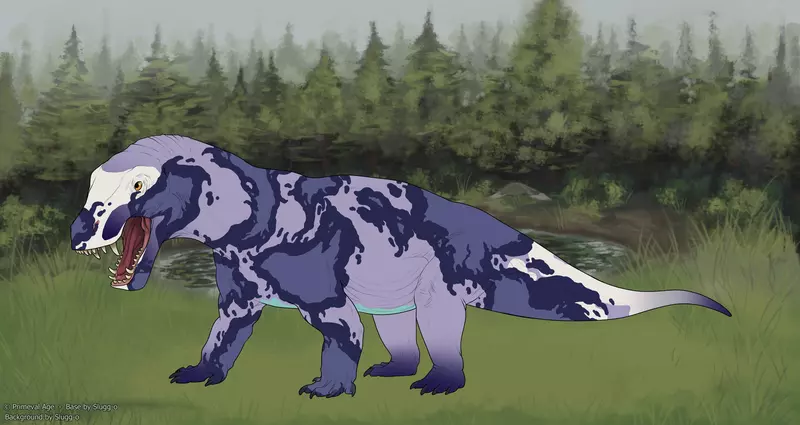
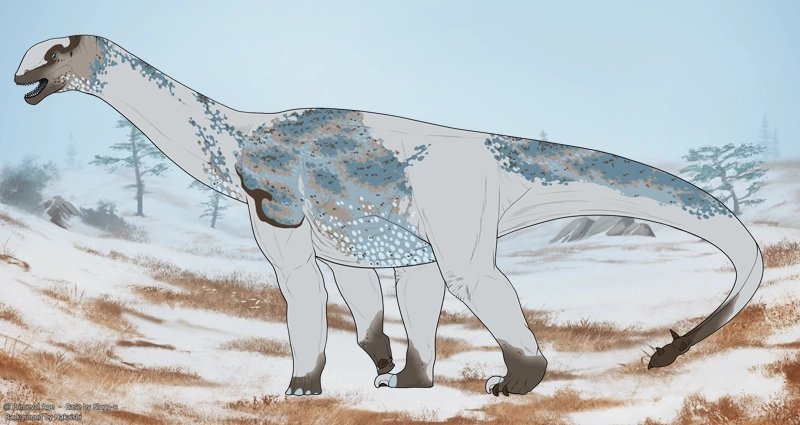
Color modifiers have a limit of 4 Homozygous and 4 Heterozygous per dinosaur. This means that you can have up to 8 different color modifiers per dinosaur, but only half in the visual Hom form. Here's an example of a dinosaur with Hom Skyward [SWSW] and Het Abyssal [Ab]!

Heterozygous [Xx]
In the Het form, color modifiers are carried genes! These color modifiers do not display on dinosaurs, and they should not be added onto the import when designing. These genes are genetically important and have a chance to pass through breedings. They are able to pass down as Hom to offspring, even if only one parent is Het for a color modifier!Homozygous [XXXX]
In the Hom form, color mods are displayed genes! These genes allow color modifiers to appear on dinosaur designs in imports, as well as having an increased chance to pass through breedings! The rates of color modifier gene passage and appearance in regards to breeding, egg hatching, etc. are different than the rates of marking genes. This means its possible for a dinosaur with a Het color mod to pass on the modifier in the Hom form to offspring, as well as Hom forms passing on as Het.Color Modifiers in Action
When applying a color modifier to a design, you can choose any color from the respective color modifier's palette into your design alongside normal, non-modded colors. You can apply the color mod pallete to as much or as little of the design as you with, with a few rules!
- Homozygous color modifiers must be present on the design somewhere.
-- You cannot hide the color under a marking, however...
-- You can permanently make the color modifier Heterozygous by using a Strange Stew.
-- You can permanently remove it entirely with a Ginger Root. - All normal marking rules still apply.
-- Such markings that must be darker than base, markings that must be solid color vs two-tone allowance, etc.
-- Markings with set color swatches such as Piebald and Curse must use their own swatches. - In the case of multiple homozygous color modifiers, you can choose where to apply each.
-- Multiple color modifiers can affect the same marking if it is a marking that allows multiple colors/two-tones.
-- You can choose to have a color modifier affect only part of a marking if it is a multi-colored marking. - Color modifiers can be applied to just the base.
-- The natural genetic base color used for breedings does not change.
-- However, the color modifier will act as the base for any marking rules. - Color modifiers cannot be used on dimorphic markings, eyes, teeth, gums, and the tongue.
-- All of these must still follow their own established rules. - Color modifiers can be applied to keratin.
-- Remember that keratin rules will still apply as normal.
Examples
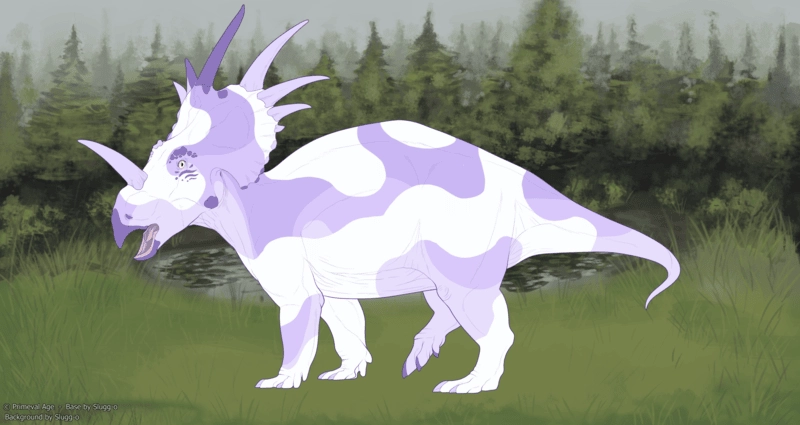
Here's an example of Abyssal affecting the whole dinosaur and showing correct colour changes on keratin!
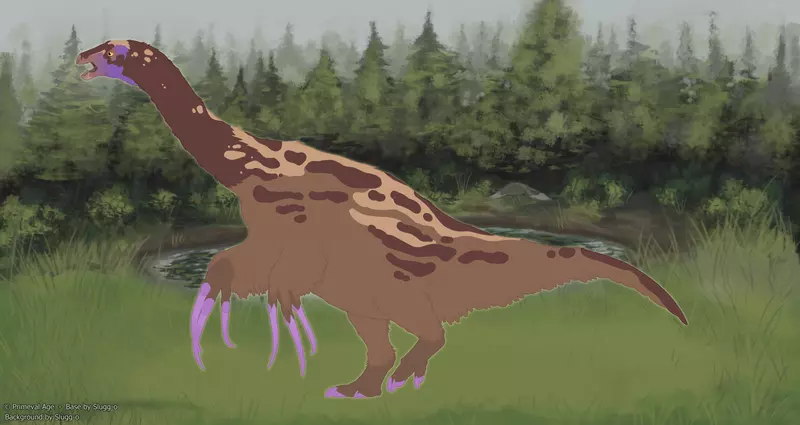
Here's an example of Nocturnal presenting minimally as well as being only one color in the two-color gradient of Hom Masked.
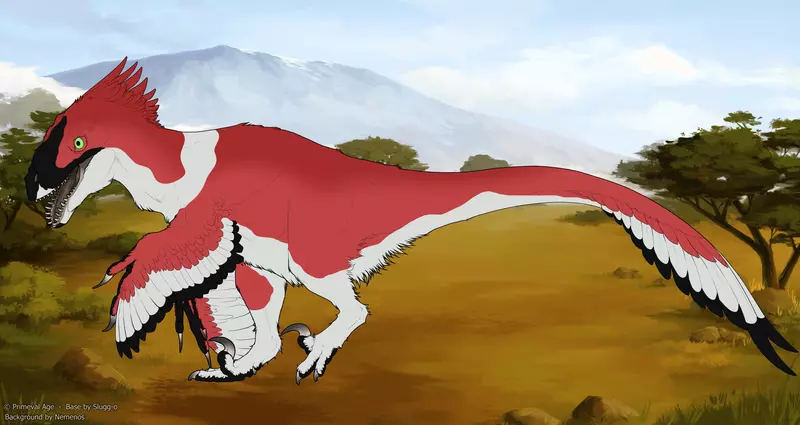
This shows Volcanic affecting the whole dinosaur, except for Piebald and Curse which can't be affected by color modifiers.
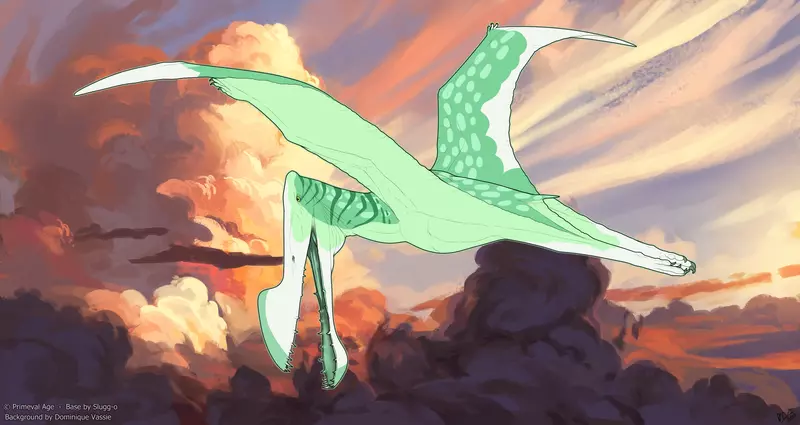
This example shows Verdant affecting the whole dinosaur, except for Piebald which has its own swatch!

